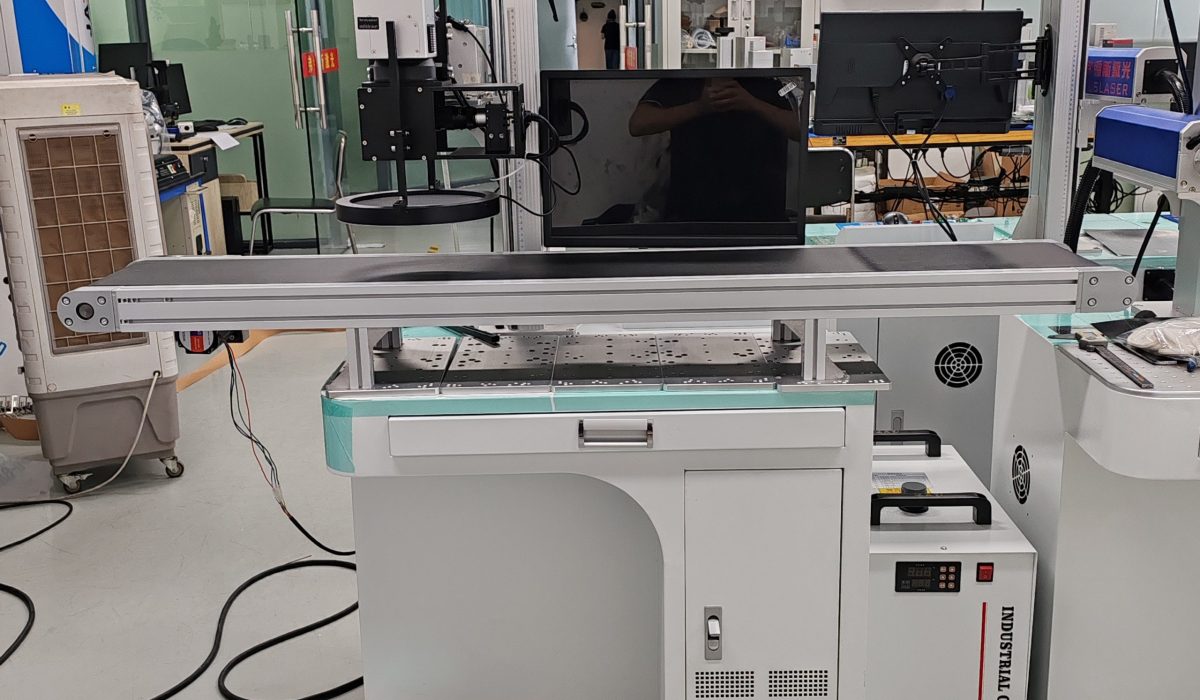
Put a crooked logo on a 50-dollar component and you have scrapped the part. That single risk explains why the intelligent vision laser marking machine has moved from a niche tool to a standard purchase in electronics, medical device and precision metal production. A camera looks at the workpiece, the software calculates position and angle, and the beam is corrected before it fires. No custom fixture, no manual nudging, no scrap.
This buying guide covers what an intelligent vision laser marking machine does, which specifications drive the price, and how to compare quotes from different suppliers on equal terms. It is written for production engineers, sourcing managers and workshop owners who need a decision rather than a sales pitch.
What an intelligent vision laser marking machine actually does
A standard galvo marker is blind. It fires along a fixed X and Y coordinate, so the operator has to build a jig that forces every part into the same position. A crumb of debris in the jig, a slightly different casting, or a hand-loaded tray, and the mark lands in the wrong place.
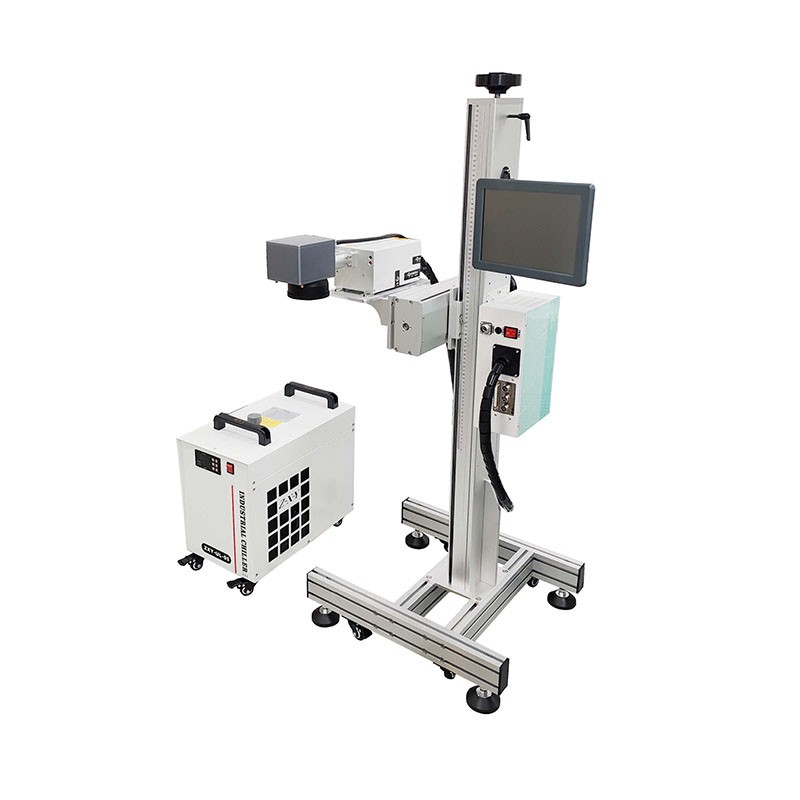
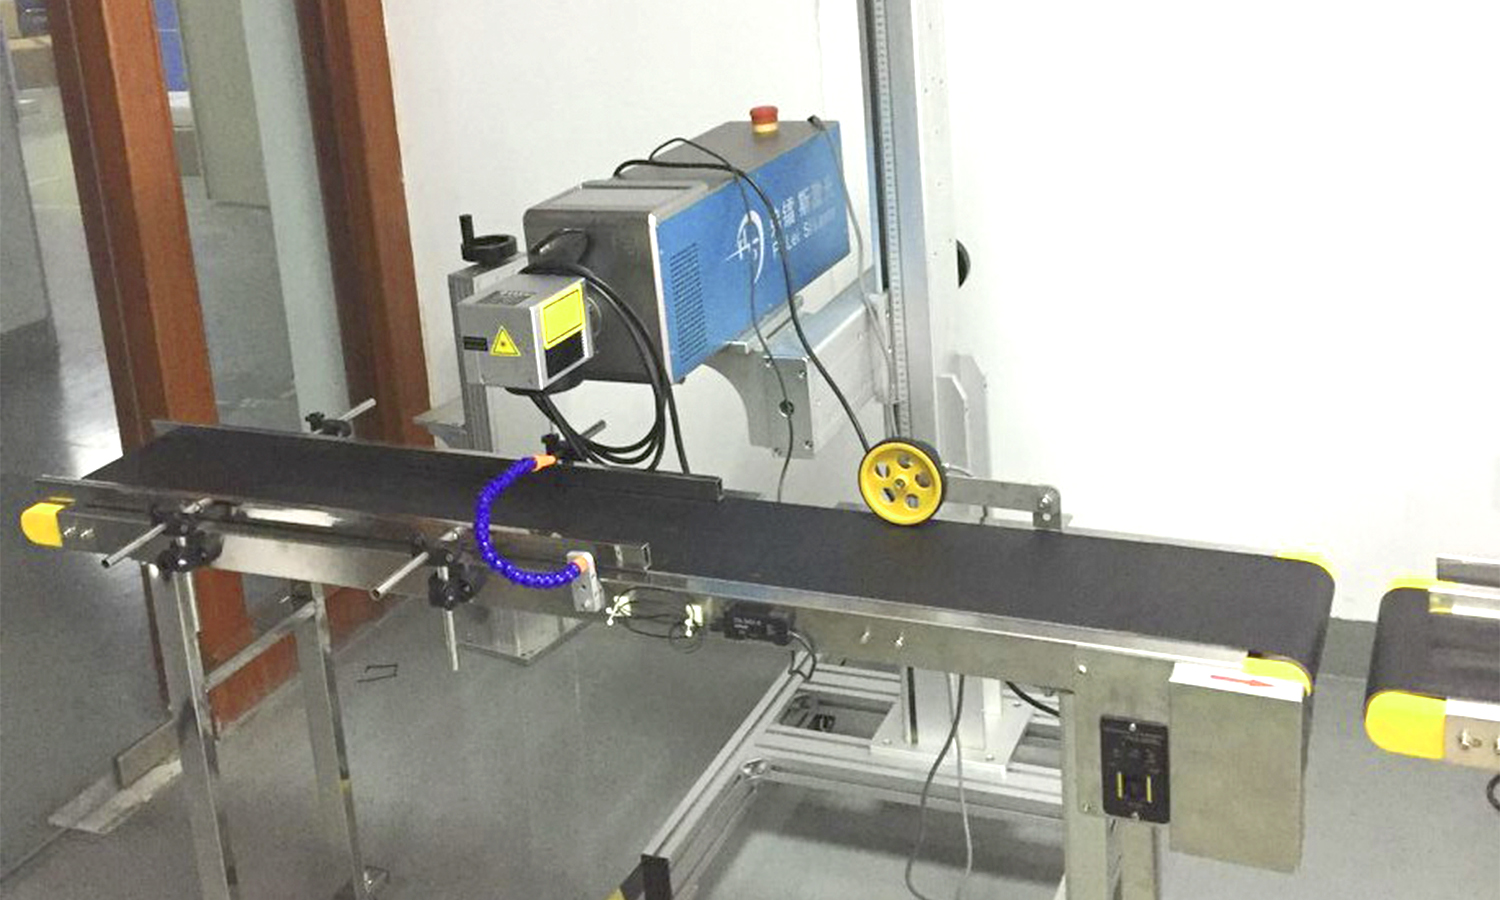
An intelligent vision laser marking machine closes that loop. The camera captures an image, the software extracts a contour, a hole, a printed feature or a fiducial mark, and the marking layout is shifted, rotated or scaled to match. The correction takes roughly 100 to 300 milliseconds per part. That is fast enough to run inline vision marking systems that integrate directly with conveyor lines.
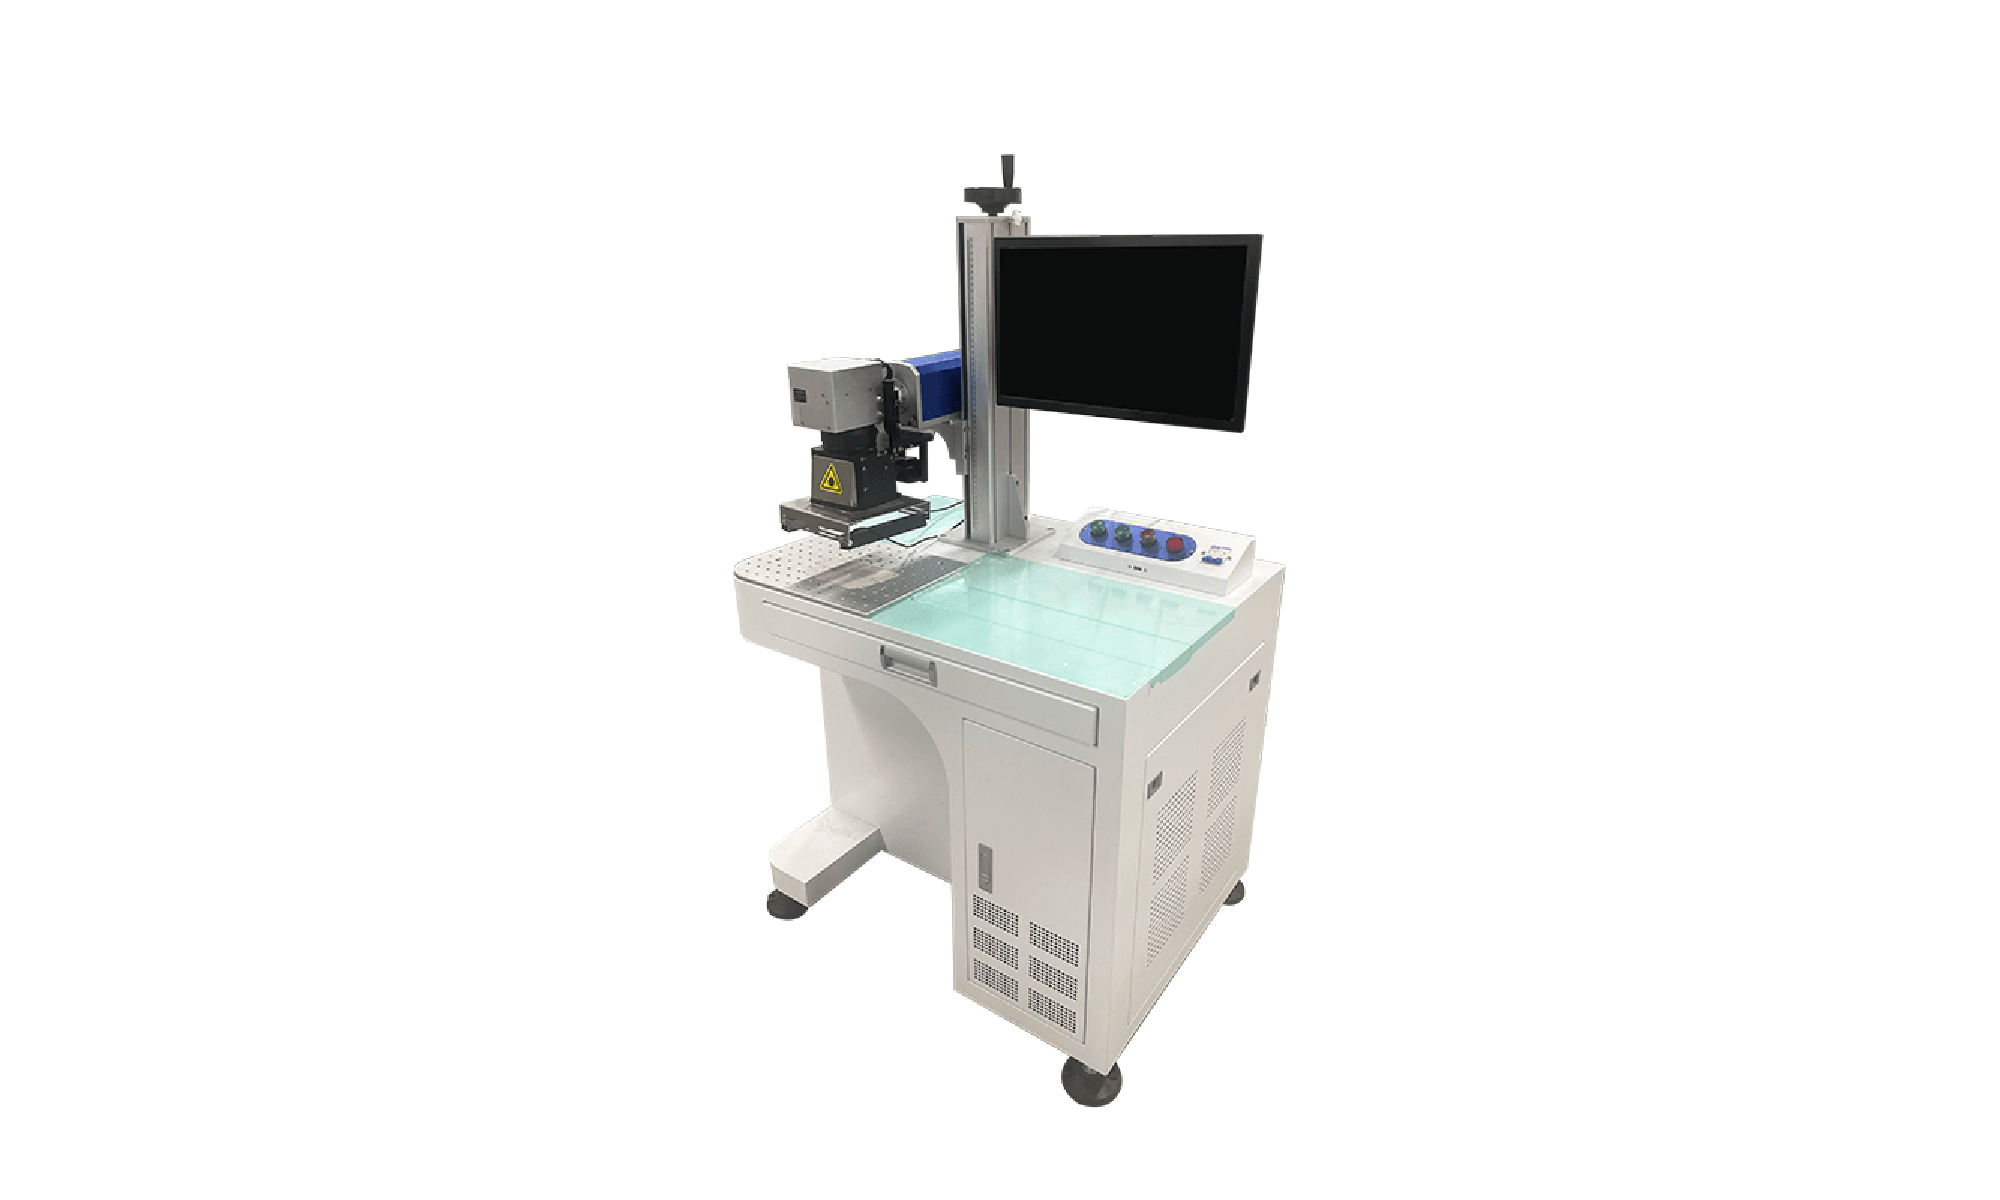
A typical system combines five elements:
- A CMOS or CCD industrial camera, usually 5 to 20 megapixels
- A fixed-focus or telecentric lens
- Ring, dome or coaxial LED lighting
- A fibre laser source with a galvo scanner head
- Vision software that shares one coordinate system with the marking software
Why vision pays for itself
The business case is rarely about accuracy alone. It is about how many product variants you run.
A dedicated fixture costs between 150 and 800 dollars to design and machine. Every new part number needs a new one. Add storage, and add a changeover that eats five to twenty minutes of production time. A workshop running 40 active part numbers can quietly carry 30,000 dollars of tooling and thousands of hours of changeover every year.
Vision removes most of that cost. Operators load parts at any angle, in any position, and the camera handles the rest. Changeover time drops to a software recipe switch. For mixed-model production, the payback period is often measured in months rather than years.
There is a second saving that is easy to miss. Scrap on high-value parts is expensive. If you mark surgical instruments and medical implants requiring permanent UDI marks, sensor housings or gold jewellery, one misaligned part can cost more than a day of machine time. Vision makes that failure mode rare.
The specifications that decide your price
Camera resolution and field of view
Resolution sets your smallest reliable feature. A 5-megapixel camera over a 100 x 100 mm field gives you roughly 45 micrometres per pixel. A 20-megapixel camera over the same field gives you about 22 micrometres per pixel. If your locating feature is a 0.2 mm printed dot, high resolution matters. If it is a 5 mm mounting hole, it does not.
Vision software and calibration
This is where cheap machines fall apart. Ask three questions. Does the software accept your own part templates? Is calibration guided, or does it need an engineer? And can it handle low-contrast or reflective surfaces? Good algorithms tolerate lighting variation. Weak ones need perfect conditions.
Laser source, power and beam quality
Most vision marking systems use a fibre laser sources between 20 W and 50 W cover most metal marking applications. Higher power buys you depth, not precision. For surface marking on stainless steel, aluminium or plated parts, 20 W is usually enough. Choose 50 W or MOPA when you need deep engraving or colour marking.
Marking area and motion
A fixed 100 x 100 mm field suits small parts. Larger fields, rotary axes and motorised Z stages add cost. Decide this from your real part envelope, not from a wish list.
Safety enclosure and integration
A Class 1 enclosure, interlocks, fume extraction and PLC or MES connectivity enables integration into automated production lines all add price. Skip the enclosure and you inherit laser safety obligations that most workshops cannot meet.
Intelligent vision laser marking machine price ranges in 2026
| Configuration | Typical 2026 price (USD) | Best fit |
|---|---|---|
| Desktop, 20 W fibre, 5 MP camera | 4,500 – 7,500 | Small batches, jewellery, hand-loaded trays |
| Mid-range, 30–50 W, 12 MP camera, rotary axis | 7,500 – 15,000 | Electronics, hardware, mixed part families |
| High-end, 50–100 W MOPA, 3D scan head | 15,000 – 35,000 | Deep engraving, colour marking, curved surfaces |
| Inline automated cell with conveyor and inspection | 25,000 – 80,000+ | High-volume traceability, lights-out production |
These figures are indicative market ranges for planning. The final quote depends on the laser source brand, the galvo model, the camera, the software licence and the level of automation. Always request a sample test on your own parts before you sign.
Vision marking versus fixture marking
| Factor | Fixture marking | Intelligent vision marking |
|---|---|---|
| Setup for a new part | New jig, hours to days | New recipe, minutes |
| Operator skill needed | Medium to high | Low |
| Part placement | Must be precise | Any position, any angle |
| Mixed-model changeover | 5 – 20 minutes | Under a minute |
| Tooling cost per year | Can reach tens of thousands | Near zero |
| Upfront machine cost | Lower | Higher |
Fixture marking still wins for one stable, high-volume part with a simple shape. Vision wins as soon as your part list grows.
Which industries see the fastest payback
- Electronics: PCB serial numbers and micro-IC laser marking demand ultra-fine positioning accuracy
- Medical devices: surgical instruments, implants, UDI codes
- Jewellery: rings, pendants and watch cases marked in any orientation
- Automotive: engine and brake components marked on curved, irregular surfaces
- Hardware and tools: wrenches, fittings and hand tools loaded in bulk
- Packaging: date codes and batch numbers on paperboard, film and plastic packaging
In every one of these cases, the common thread is a part that is hard to fixture or a part list that changes often.
What to prepare before you request a quote
Send the same brief to every supplier. Inconsistent briefs produce quotes you cannot compare.
Prepare six items:
- A part list with the worst-case part highlighted
- Material and surface finish, including any coating
- The feature the camera should lock onto
- Your target cycle time and required accuracy
- The marking content in its real file format
- The production environment, including ambient light and dust
A supplier can quote a real cycle time only when the brief is complete. Otherwise the number is a guess. In addition, ask every vendor to run a sample test on the worst-case part and to return the marked samples with the report. That single request exposes the difference between an intelligent vision laser marking machine that performs in a demo and one that performs on your line.
How to compare suppliers before you sign
- Send real parts for a sample test, including your worst-case surface finish.
- Ask for the measured cycle time on that sample, not a catalogue figure.
- Confirm the camera resolution and the real field of view in writing.
- Check which software licence you get, and whether it is perpetual.
- Ask for the spare parts list with prices and lead times.
- Confirm the warranty on the laser source, the galvo and the camera separately.
- installation training, remote support channels and after-sales response capability.
A supplier who answers all seven in writing is usually a supplier worth keeping.
Frequently asked questions
What accuracy can I expect?Repeatability on a well-calibrated system is typically 0.01 mm and positioning accuracy around 0.02 to 0.05 mm. Real accuracy depends on camera resolution, surface finish and calibration quality.
Do I still need fixtures?For most parts, no. You may still want a simple nest to hold a part flat, but you no longer need a precise one.
Can vision be retrofitted to my current marker?Sometimes. It depends on whether your control software supports an external camera and a shared coordinate system. Ask before you assume.
How long does installation take?A standalone unit is usually running within one day. An inline cell with conveyor integration takes one to three weeks.
Next step
Compare the specifications above against your own part list, then request a sample test. That test is the only reliable way to judge an intelligent vision laser marking machine, because the mark on your part is the only result that matters. our engineers can run a free sample test and return a cycle time report with marked samples.