Buying a marking laser is not about finding the cheapest 30W machine online. It is about matching a machine to your parts, your volume and the support behind it. If you are wondering how to choose a fiber laser marking machine, work through these seven steps in order.
Step 1: Define Your Material
Metal points to fiber; heat-sensitive plastics and glass point to UV. Confirm the wavelength before anything else — see Fiber vs UV vs CO₂.
Step 2: Decide the Mark Type
Surface marks and annealing need less power than deep engraving. Colour needs a MOPA source. Know which result you are selling.
Step 3: Size the Power to the Bottleneck
Start from cycle time. If marking is not the bottleneck, extra power buys little — see 20W vs 30W and 30W vs 50W.
Step 4: Choose the Form Factor
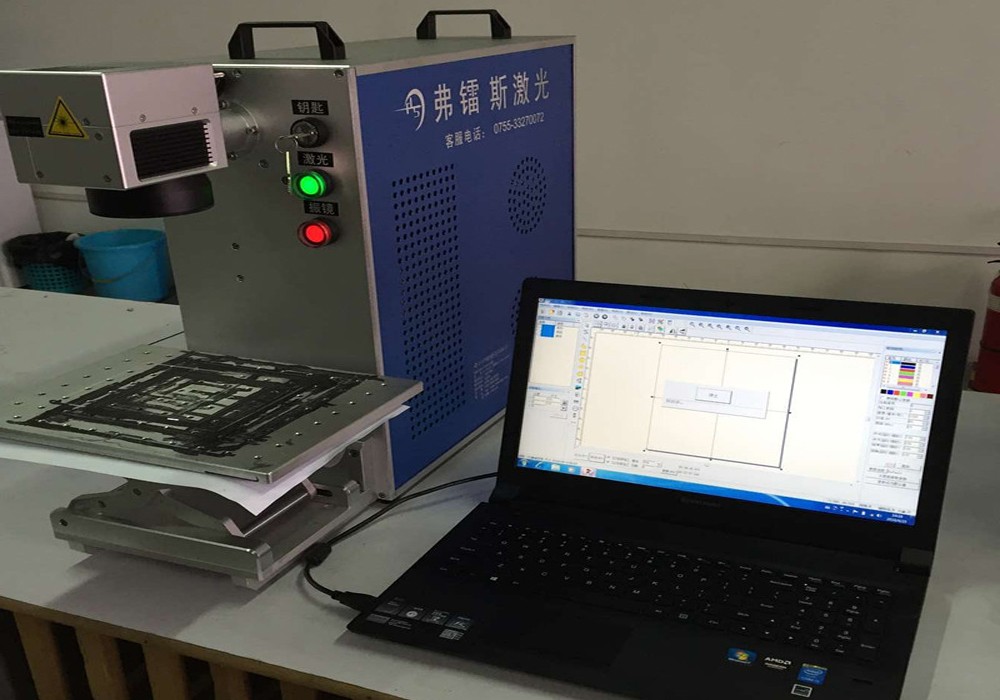
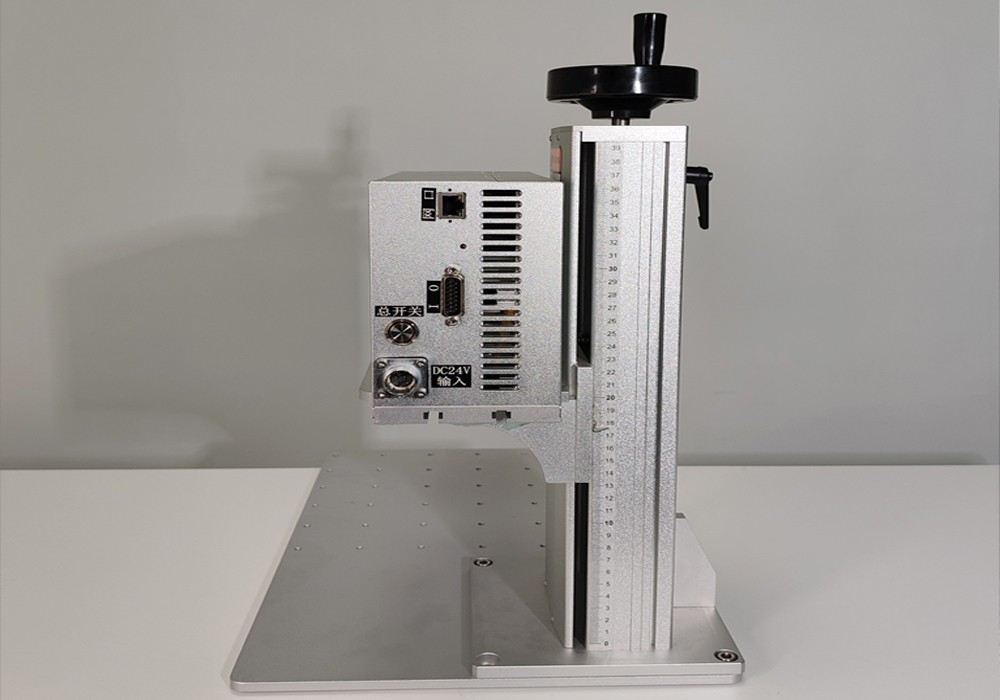
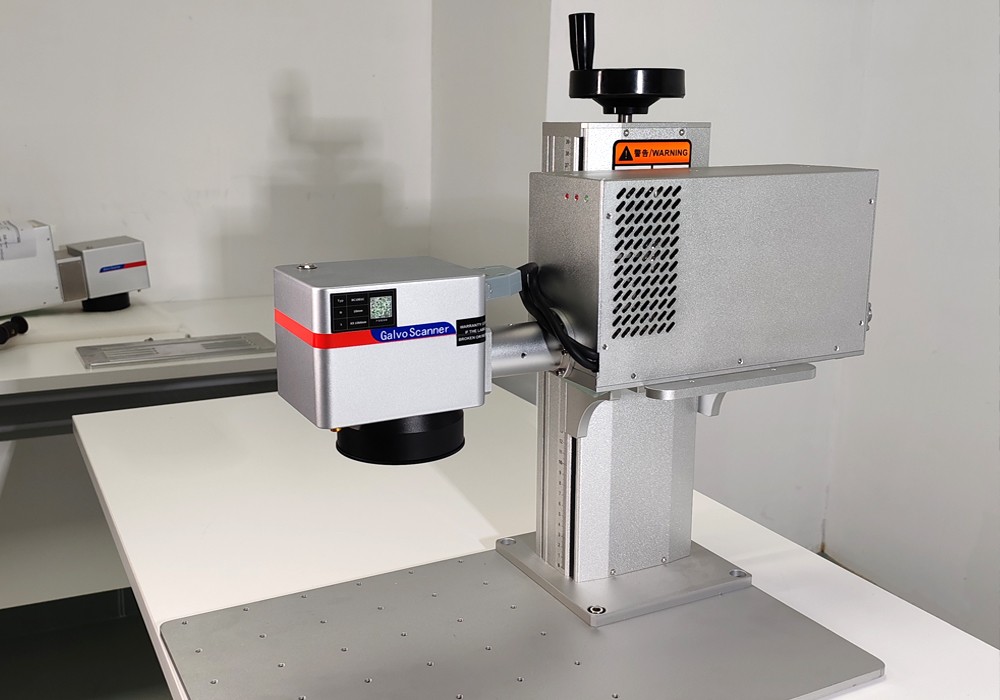
Benchtop for repeatable work, handheld for large or immovable parts, and inline for production lines.
Step 5: Budget for Ownership, Not Just the Price
Compare total cost of ownership: source brand, cooling, spares and training. See the 2026 price breakdown.
Step 6: Vet the Supplier
Ask for the exact source brand and model, warranty length, spare-part availability and response times. A responsive supplier is worth more than a marketing page.
Step 7: Test Before You Commit
Send a real sample of your part. A supplier who returns a marked part with parameters is a supplier who can support you after the sale.
FAQ
Is a cheaper machine ever the right call? Sometimes, if your marks are simple and volumes low — but check the source warranty first.
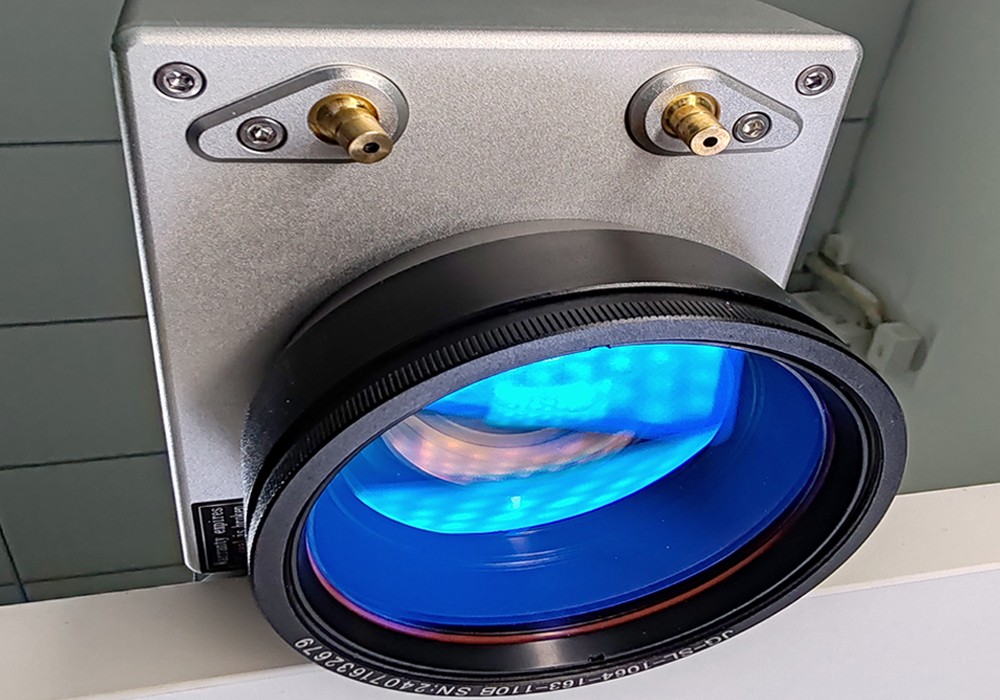
What is the most overlooked spec? The laser source brand and the F-theta lens quality. Both are invisible on a one-page quote.
For the full context, start with the complete fiber laser marking machine guide, or send FLS your part for a free mark test.
Signature:FLS – Laser Applications Engineer