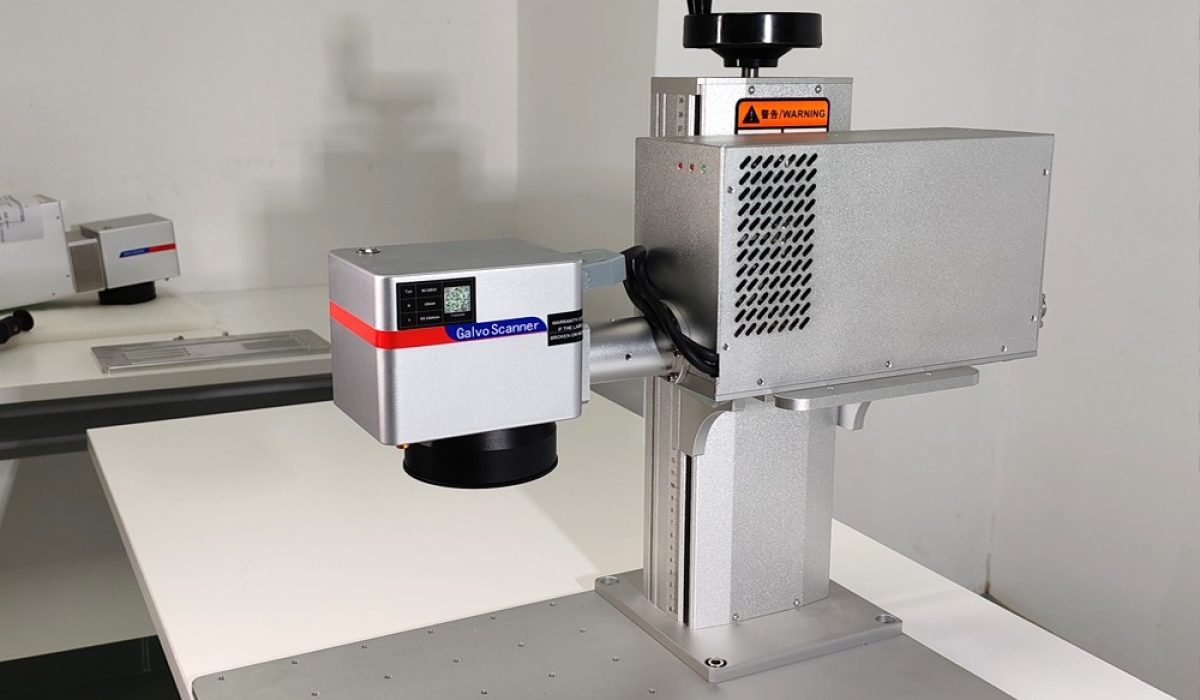
Aluminium marks beautifully with a fiber laser — but it behaves differently from steel, and anodised aluminium behaves differently again. Knowing which surface you are marking is the key to fiber laser marking aluminum without burned or inconsistent results.
Bare Aluminum vs Anodised Aluminum
- Bare aluminium — reflective and conductive, so it needs higher power and often multiple passes for contrast.
- Anodised aluminium — the oxide layer takes a crisp, high-contrast mark at low power; over-powering turns it white and blowy.
Starting Parameters
| Surface | Power | Frequency | Notes |
|---|---|---|---|
| Anodised (black) | 15–40% | 30–60 kHz | Low energy; avoid whitening |
| Anodised (white/light) | 5–20% | 50–80 kHz | Very low energy density |
| Bare aluminium | 60–100% | 20–40 kHz | Higher power or repeat passes |
Always verify on the actual alloy and finish — 6061, 7075 and castings all react differently.
Working with a Reflective Metal
Aluminium reflects a large share of the beam, so marking can look weak until you raise power or slow the speed. Keep the lens clean, maintain correct focus, and use a hatch pattern with good overlap for solid fills.
Common Problems
- Washed-out anodised marks — power too high; drop it and raise frequency.
- Weak contrast on bare aluminium — increase energy density or use a slightly defocused beam.
- Inconsistent shade — check surface cleanliness and alloy grade.
FAQ
Can a fiber laser mark anodised aluminium in colour? Yes — a MOPA source gives the most control. See MOPA vs Q-switched.
Will it damage the anodised layer? Only if over-powered; at the right settings the mark is durable and clean.
Explore the complete fiber laser marking machine guide, or send FLS your aluminium parts for tested parameters.